
Getting started with Workbench for Zephyr
The short video below walks through a first Zephyr project on STM32 with Workbench for Zephyr, from installing the extension to building and running on the board. For the full written guides, see the getting started documentation and the STM32 board tutorials on z-workbench.com.
The first project in short
- Install Workbench for Zephyr from the Marketplace and open Visual Studio Code.
- Run Install Host Tools, then add a Zephyr SDK (the ARM toolchain is enough for STM32).
- Create a West workspace using the STM32 template.
- Generate an application from a Zephyr sample for your board, for example the STM32F4 Discovery.
- Build, then flash over the on board ST-LINK, and start a debug session.
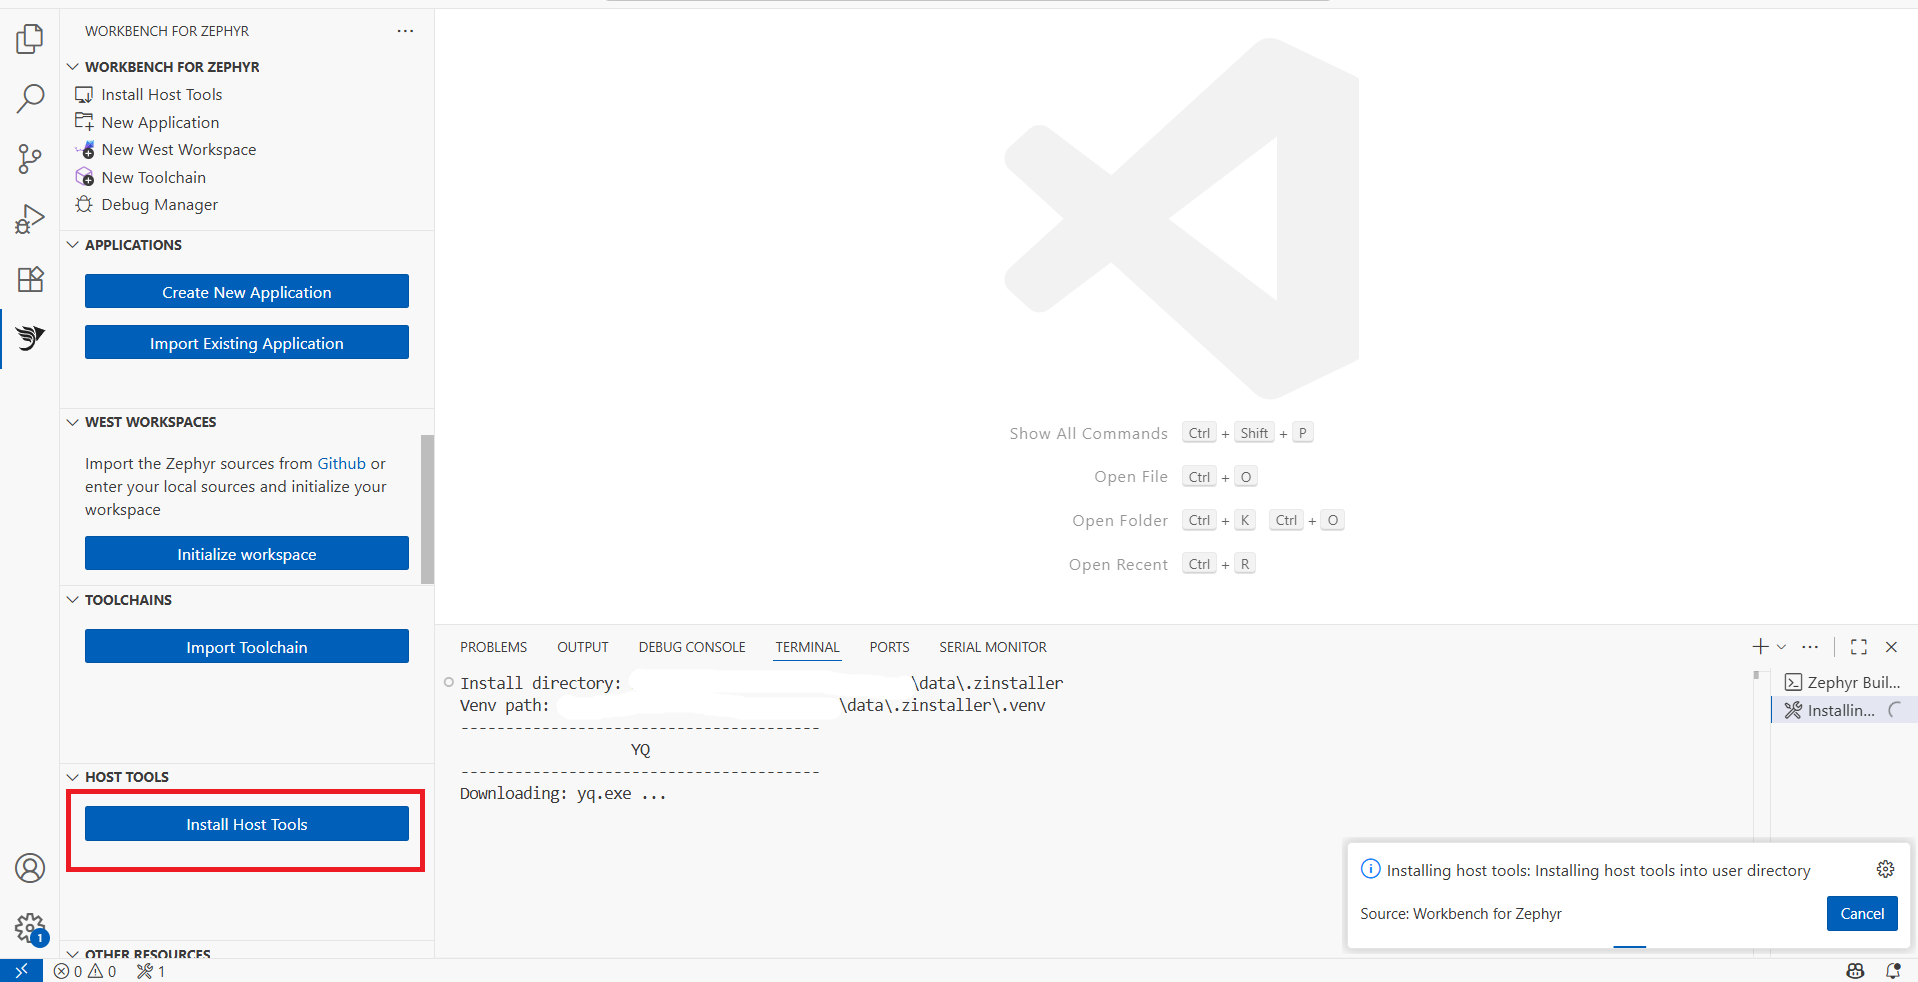
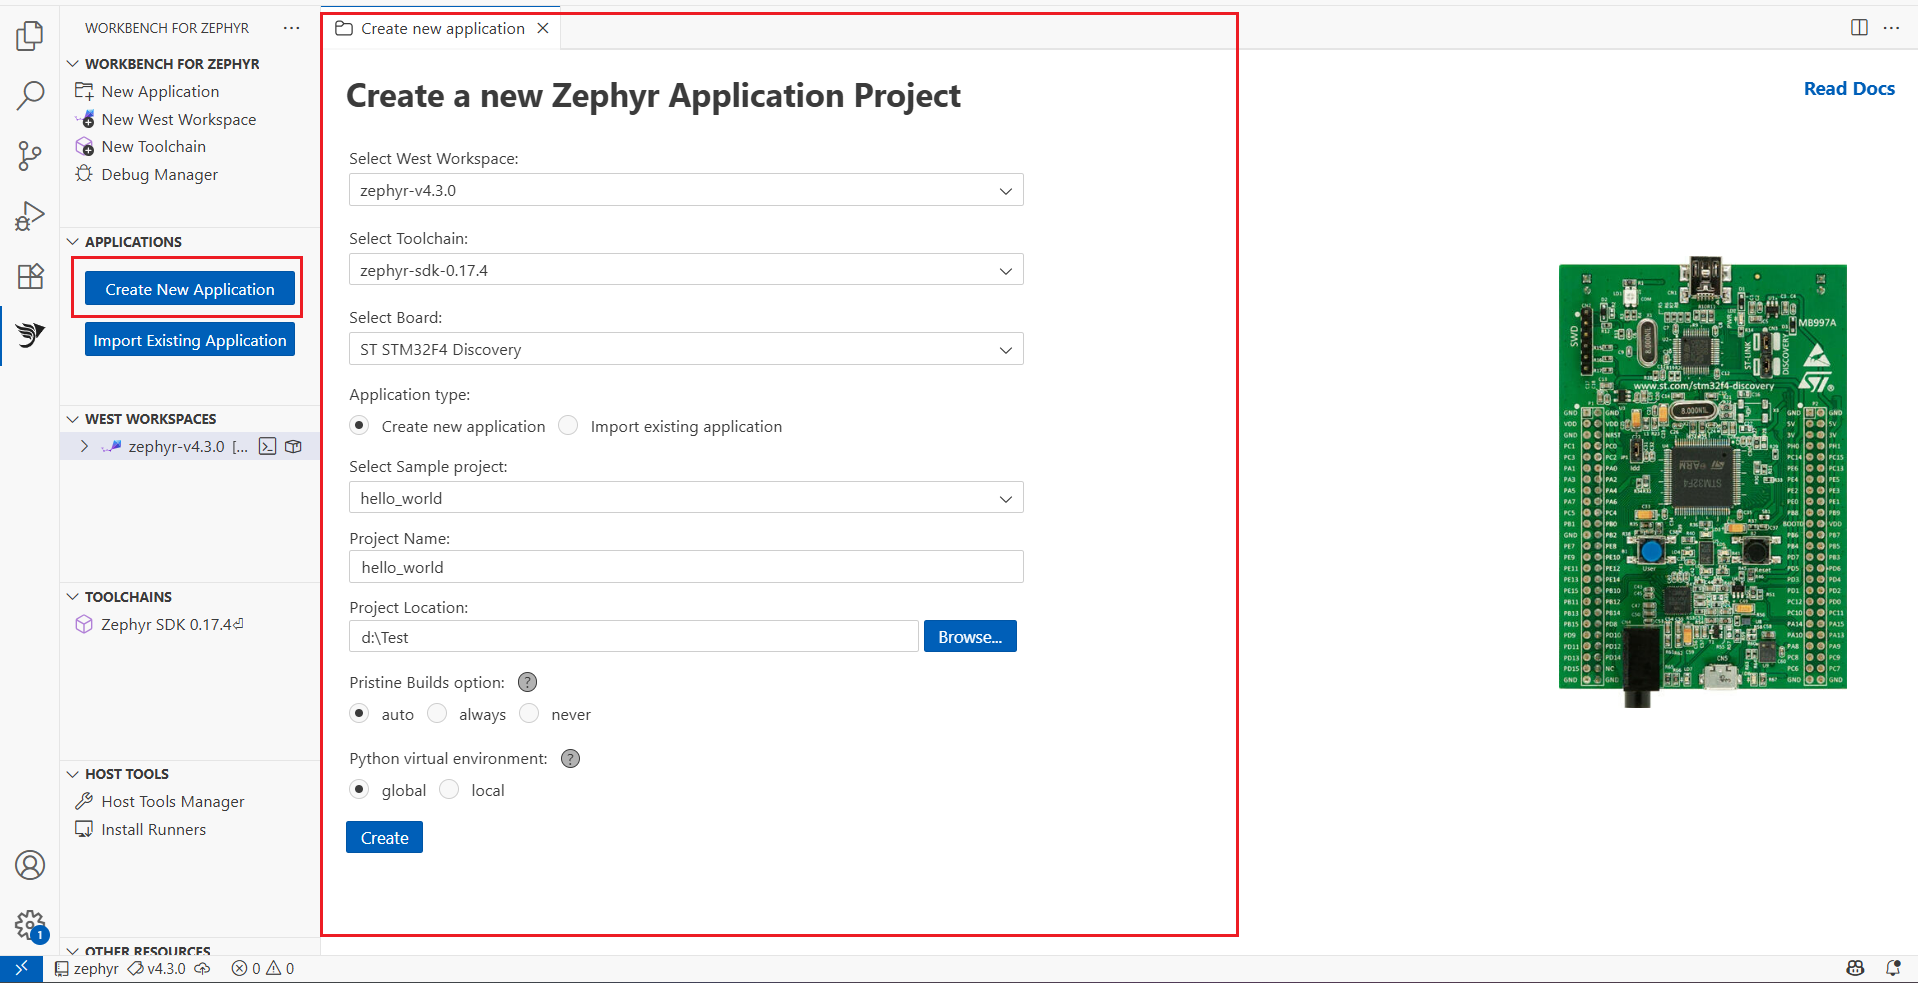
For each step in detail, including the Windows, Linux and macOS specifics, follow the guides at z-workbench.com. See also Developing STM32 applications with Zephyr and the Getting started with Rust on Zephyr on STM32 tutorial.